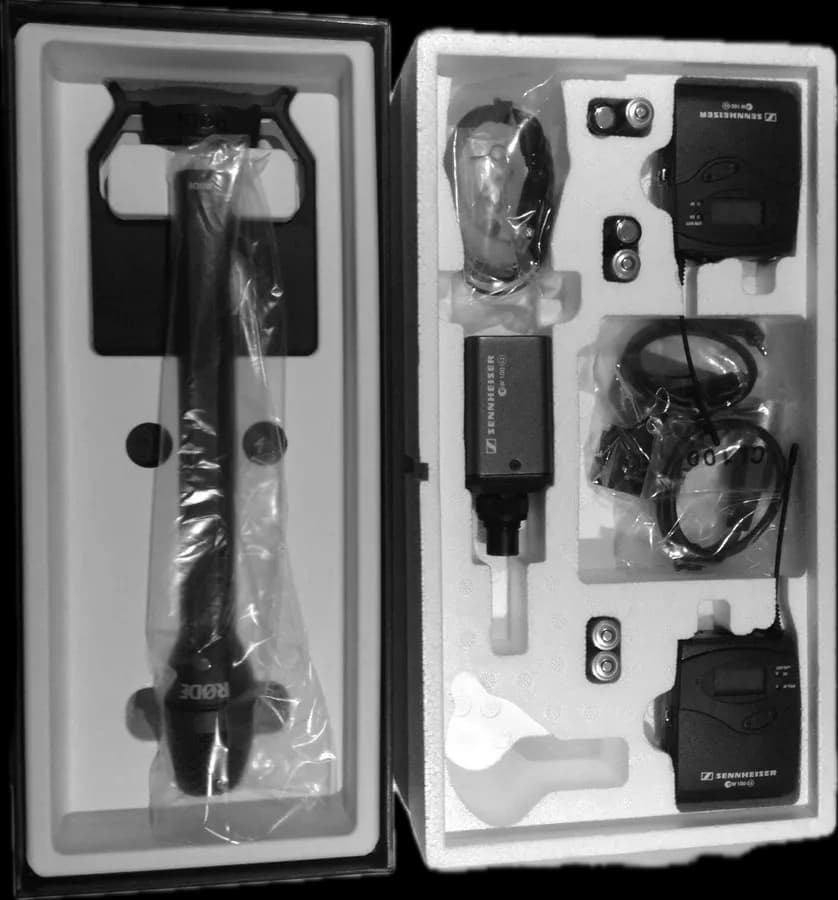
With one or two wireless microphones almost any free frequency works. With ten, plus in-ears, IFBs and camera video links, one badly chosen frequency can ruin several. RF coordination is the job of choosing a group of compatible frequencies for everything that transmits on set, and monitoring them throughout the shoot.
The spectrum: where you can transmit
Professional wireless audio works in UHF, between 470 and 900 MHz depending on the equipment and country. That band is shared with television and, in many countries, part of it has been reallocated to mobile phones. The rules change from one country to another: the example below is the United States after the 600 MHz auction, which forced many productions to replace equipment.
Step 1: scan the location
What's free at the office isn't necessarily free at the location. With a spectrum analyzer or the receivers' own scan function, you measure which TV channels are broadcasting and what other signals are present. Scan with all the set's equipment off and then on.
Step 2: avoid intermodulation
When two or more radio signals pass together through a non-linear circuit (a transmitter or receiver amplifier), new signals appear that nobody transmitted: intermodulation products. The strongest are third-order.
IM3 = 2·f1 − f2 and 2·f2 − f1
With two transmitters at 590 and 595 MHz, products appear at 585 and 600 MHz. If a third microphone is on 600 MHz, it will pick up noise even though “its” frequency was free.
The number of products grows very quickly with each transmitter you add: with three there are already six possible third-order products. That's why it isn't calculated by hand: you use the compatible groups and channels each manufacturer publishes or coordination software that checks every combination. Shure, for example, recommends leaving at least 250 kHz between any third-order product and any frequency in use.
Step 3: antennas and cabling
| Type | How it receives | When to use it |
|---|---|---|
| Whip (quarter-wave) | In all directions | Short distances, receiver close to the set |
| Directional (log-periodic, “paddle”) | Where it points, with more gain | Long distances, or to focus on the action area and reject noise from other sides |
| Helical | Forward, with circular polarization | Stages and sets where transmitters change orientation |
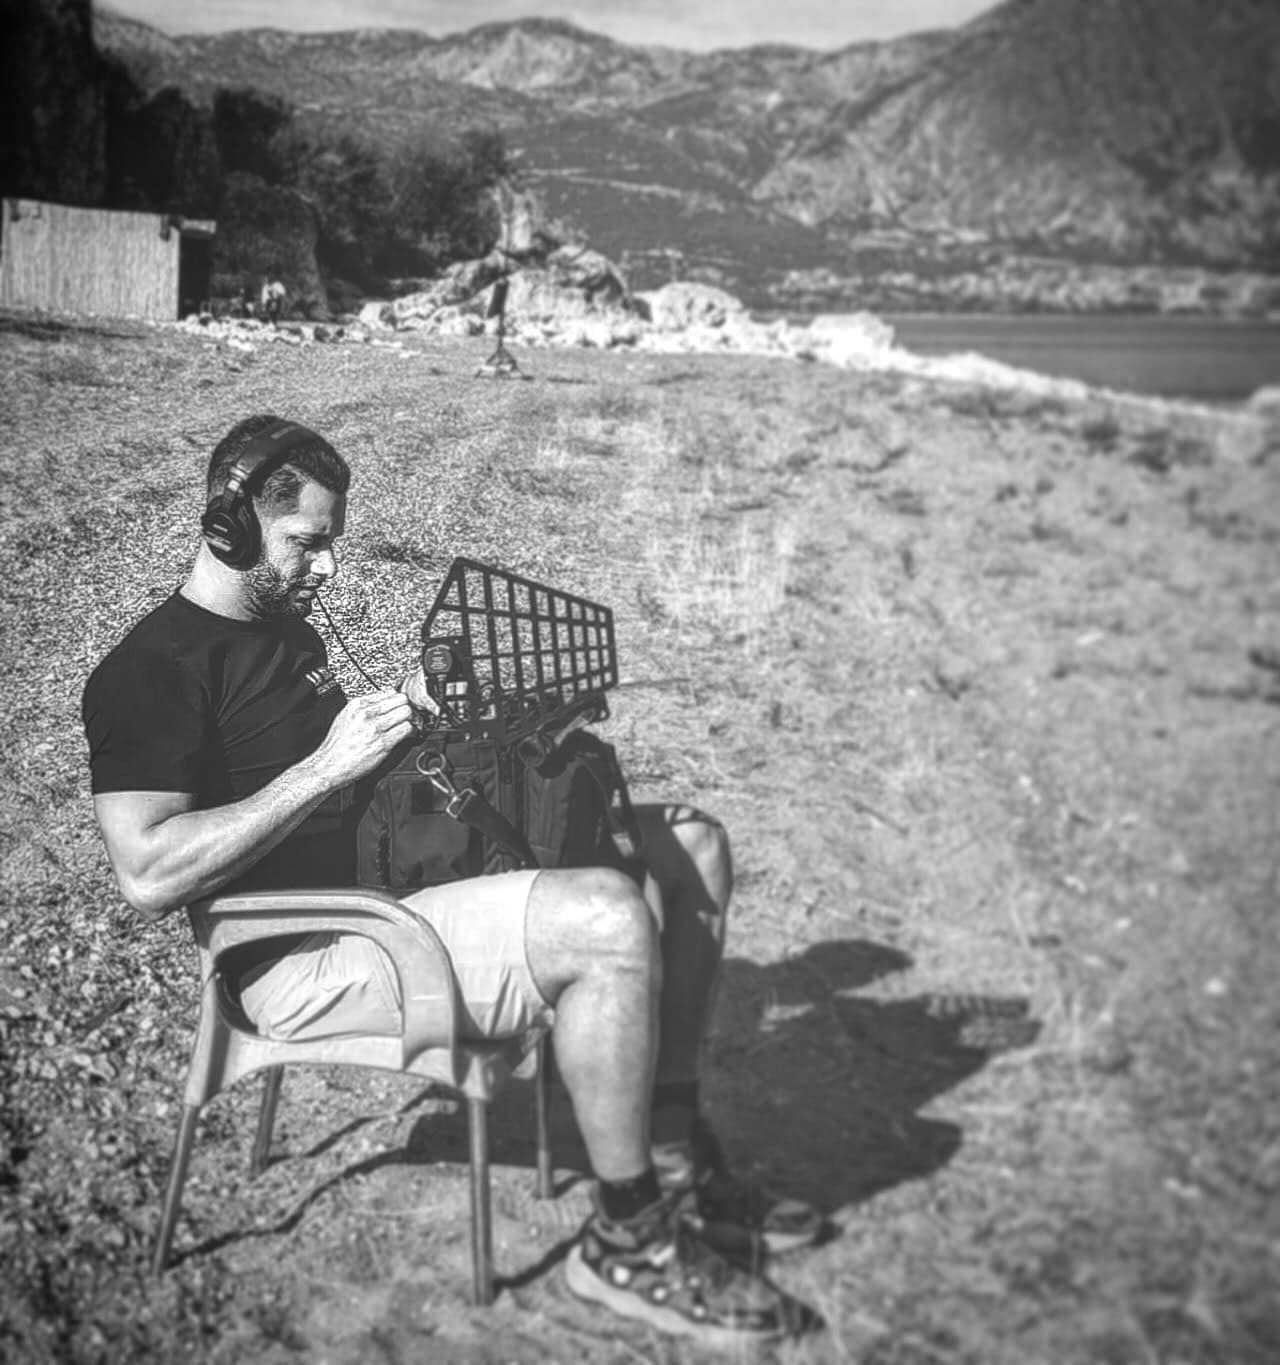
- Coaxial cable loses signal, and loses more the higher the frequency and the longer the cable. For long runs, use low-loss cable or bring the antenna closer.
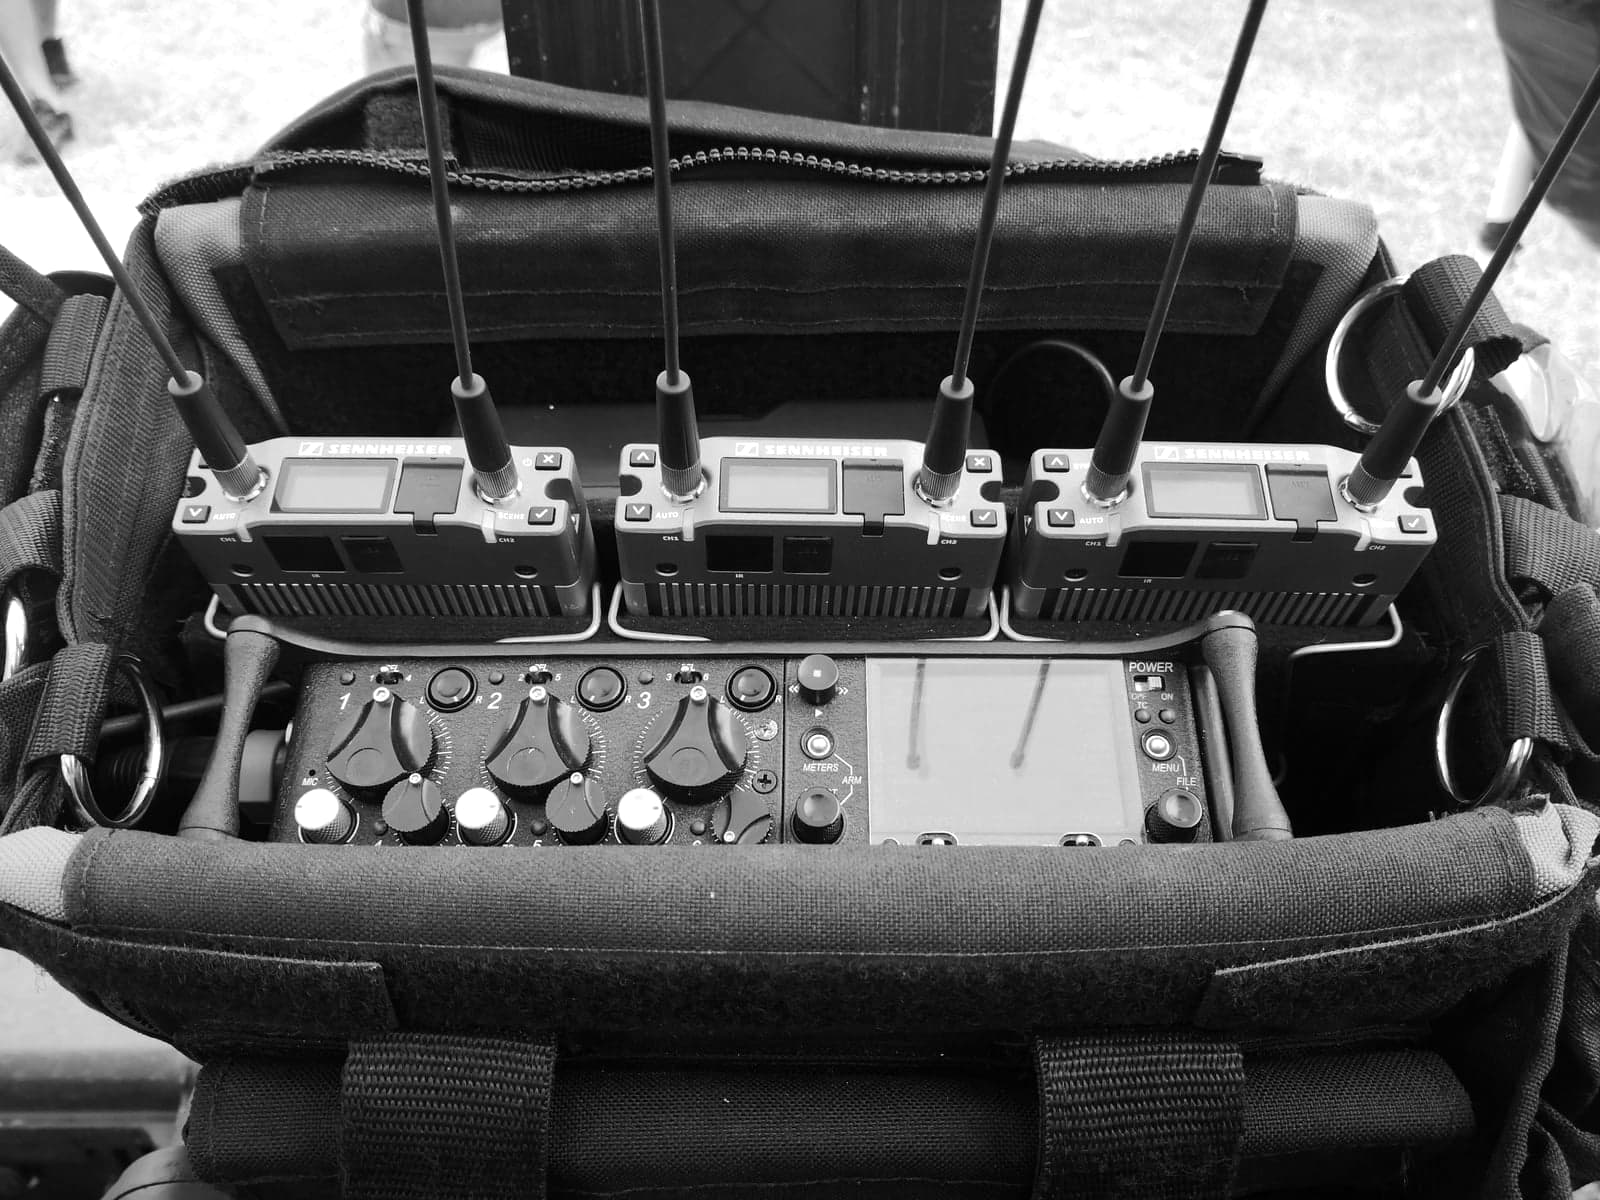
- Antenna amplifiers make up for cable loss; they aren't used to “reach farther”. Too much gain overloads the receivers and creates intermodulation inside the rack itself.
- With several receivers, an antenna distribution system shares the signal and keeps loose antennas from interfering with each other.
- Transmitting antennas for in-ears and IFB are kept away from the microphone receiving antennas: a powerful transmitter right next to a receiving antenna overloads it.
Step 4: monitor during the shoot
Coordination doesn't end when you switch on. Other departments show up with new equipment, a neighboring set turns theirs on or a TV channel starts broadcasting. Keep a list of every frequency on set, from every department, and reserve backup frequencies that have already been checked so you can switch quickly if one gets dirty.
Sources and recommended reading
Technical documentation from manufacturers and regulators. Links open external sites.
- All about wireless intermodulation distortion · Shure ↗
- Wireless microphones: frequencies and rules · FCC (United States) ↗
- Understanding the 600 MHz auction · IATSE Local 695 ↗
- Wireless RF: antennas and distribution · Sennheiser ↗